
As the crisp air of fall wraps around us and pumpkin spice scents waft through kitchen windows, there’s nothing quite like the cozy comfort of warm, fudgy brownies with a seasonal twist. Now, imagine biting into a rich, moist pumpkin brownie that’s not only bursting with autumn flavor but also completely gluten-free. Whether you’re catering to gluten sensitivities or simply looking to mix up your dessert game this season, these pumpkin brownies deliver that perfect hug-in-dessert form.
Getting Started: Ingredients and Prep
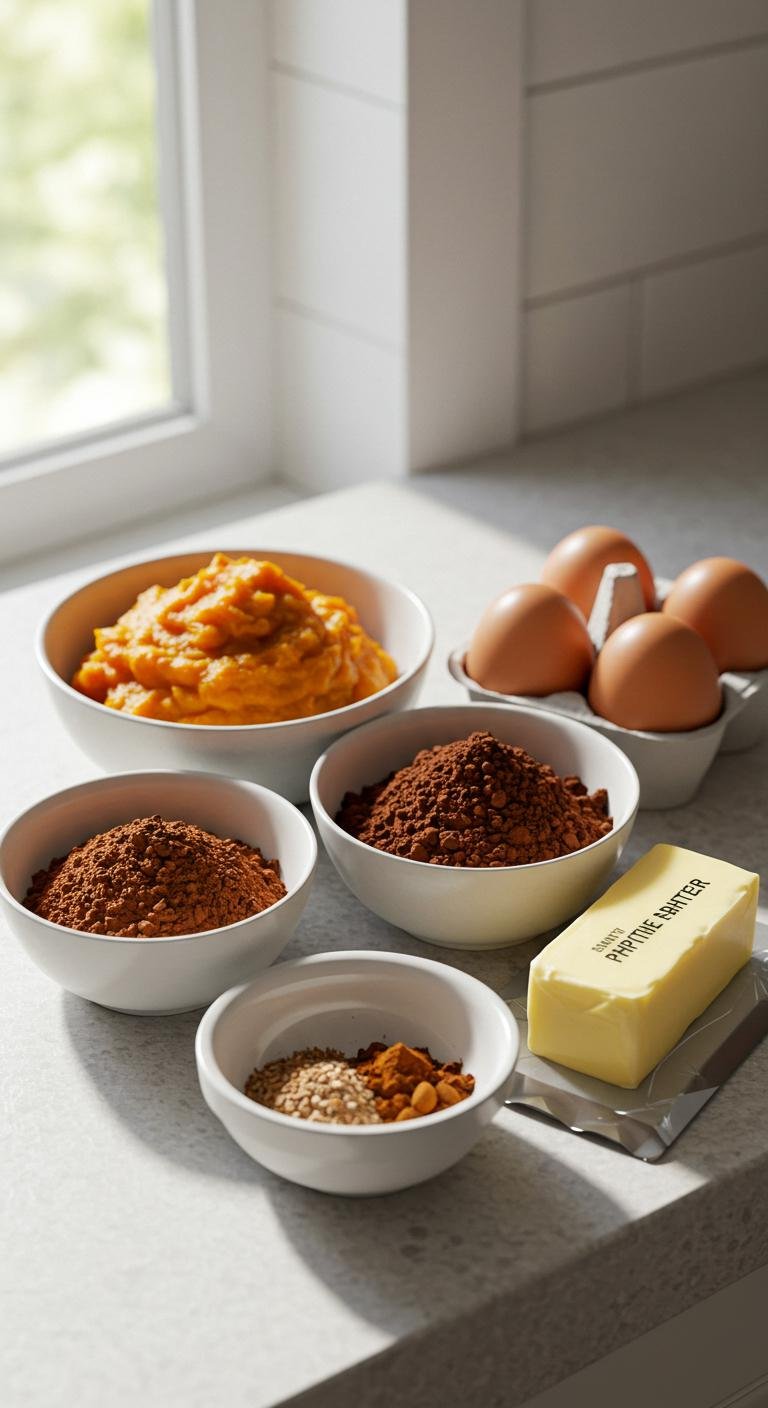
To create these pumpkin brownies, you’ll want to gather wholesome, gluten-free ingredients that enhance the pumpkin’s natural sweetness and give you that fudgy bite everyone loves.
What You’ll Need:
- Gluten-free flour blend: Use 1:1 baking flour (make sure it contains xanthan gum, or add 1/2 tsp if your blend lacks it)
- Pumpkin puree: Canned or homemade, unsweetened
- Cocoa powder: Unsweetened for that deep chocolate flavor
- Sugar: Brown sugar adds a lovely caramel note, but you can also mix with coconut sugar or maple syrup
- Eggs: Acts as a binder and gives structure
- Butter or coconut oil: For richness
- Vanilla extract: To elevate flavors
- Baking powder and salt: To ensure a perfect rise and balance
- Pumpkin pie spice: Cinnamon, nutmeg, cloves, and allspice—this is your secret weapon for fall vibes!
Prep Tips:
- Preheat your oven to 350°F (175°C).
- Line an 8×8-inch baking pan with parchment paper or grease it well.
- Measure your ingredients ahead of time—it makes mixing so much smoother!
Mixing Magic: Step-by-Step Instructions
Now that you’re set with your ingredients, let’s mix and bake.
1. Cream Together the Wet Ingredients
Start by melting your butter (or coconut oil) gently. Combine it with the brown sugar in a mixing bowl and whisk until smooth and slightly fluffy. Add eggs one at a time, then stir in vanilla extract and pumpkin puree. The mixture should be creamy and rich.
2. Sift and Mix Dry Ingredients Separately
In another bowl, sift together the gluten-free flour blend, cocoa powder, baking powder, salt, and pumpkin pie spice. Sifting helps avoid clumps and ensures an even blend.
3. Combine Wet and Dry
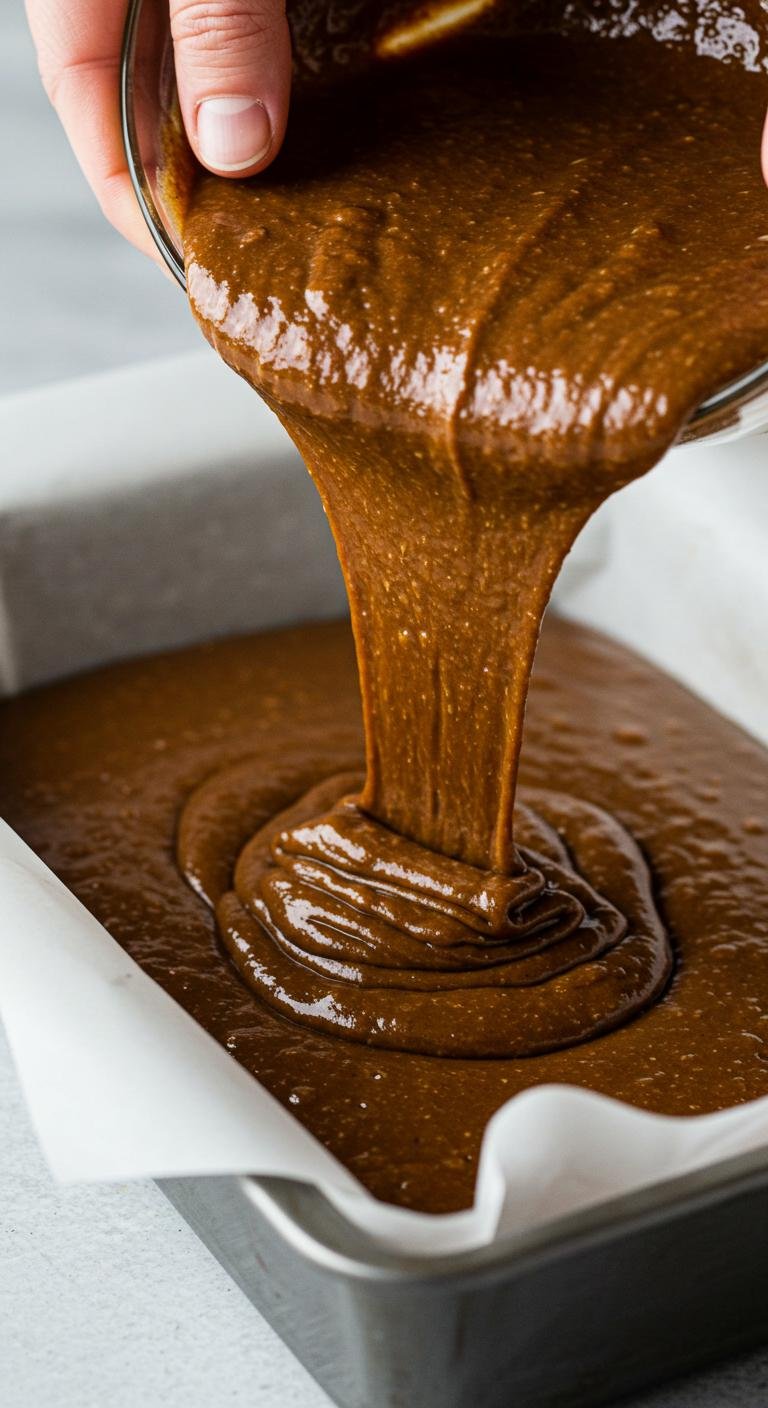
Add the dry ingredients to the wet mixture slowly, folding gently with a spatula. Don’t overmix! The batter should be thick and glossy—fudgy rather than cakey.
4. Pour & Smooth
Transfer the batter to your prepared pan, spreading evenly. A little tip: Using an offset spatula can help create a silky smooth top.
5. Bake and Test
Bake for about 25-30 minutes. Start checking around 22 minutes by inserting a toothpick; it should come out with a few moist crumbs (not raw batter). This ensures brownies stay rich, not dry.
Best Practices & Flavor Boosters
- Add-ins: Chopped dark chocolate chunks, walnuts, or pecans add texture and richness.
- Swirls: Create a cream cheese swirl by mixing softened cream cheese with a little sugar and vanilla, dropping dollops on top of the batter, and swirling with a knife before baking.
- Pumpkin spice balance: Adjust the spice blend to your taste—more cinnamon for sweetness, extra cloves for warmth.
Storage Tips:
Once baked and cooled, store your pumpkin brownies in an airtight container at room temperature for up to 3 days, or freeze for longer storage. They also reheat beautifully in the microwave for 10-15 seconds.
Troubleshooting Common Issues
- Brownies too dry: Make sure you are not overbaking, and don’t overmix the batter, which can incorporate too much air.
- Batter too runny: Check if your pumpkin puree is too watery. Draining it through cheesecloth for a few minutes helps.
- Dense texture: This can happen if your gluten-free flour blend is too heavy or if your leavening agents are old. Fresh ingredients and a light flour blend are key.
Advanced Ideas: Beyond the Basic Brownie
Want to impress? Try these fun twists:
- Layer it: Make a layer of pumpkin brownie and top with a layer of chocolate mousse or whipped cream.
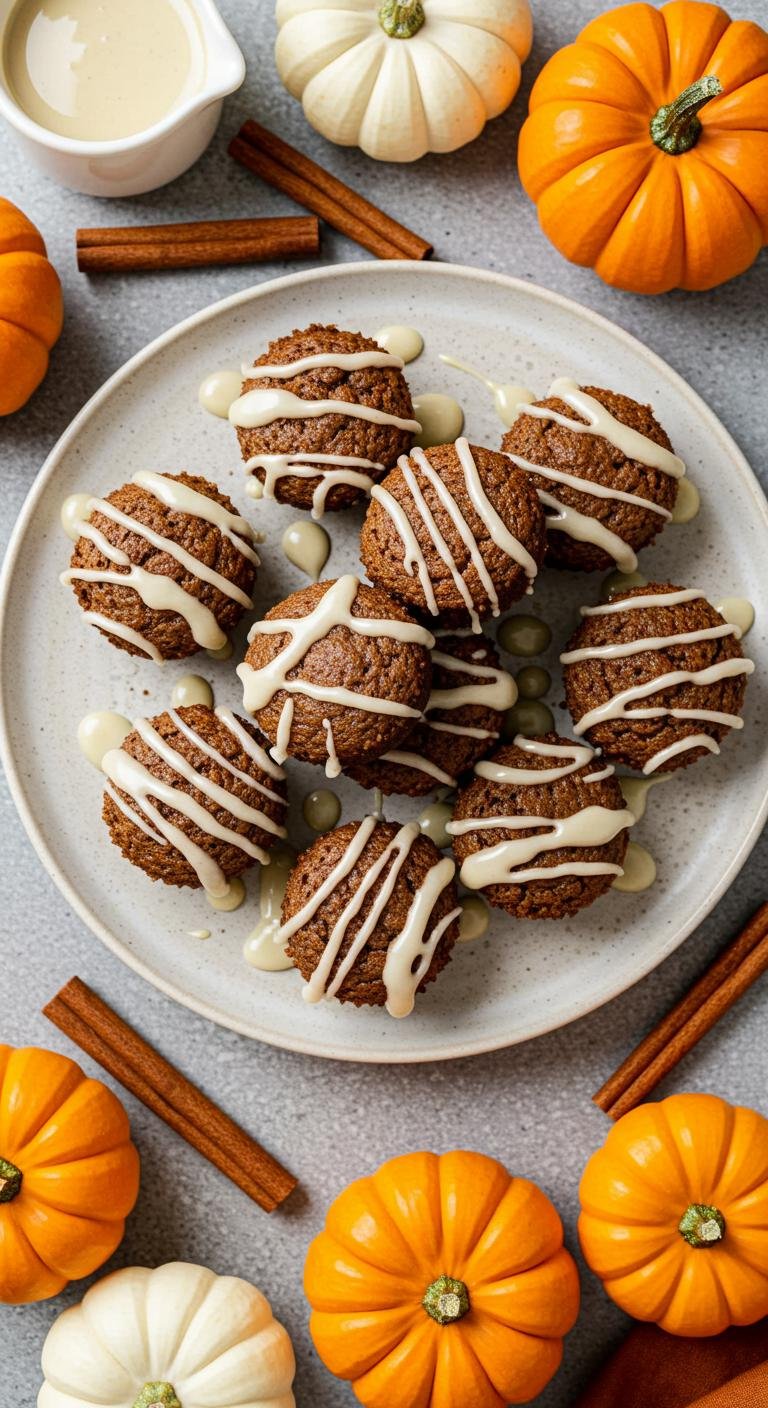
- Brownie bites: Use a mini muffin tin and bake for 12-15 minutes for bite-sized treats perfect for parties.
- Drizzle glaze: Mix powdered sugar, a splash of almond milk, and vanilla to make a simple glaze to drizzle over cooled brownies.
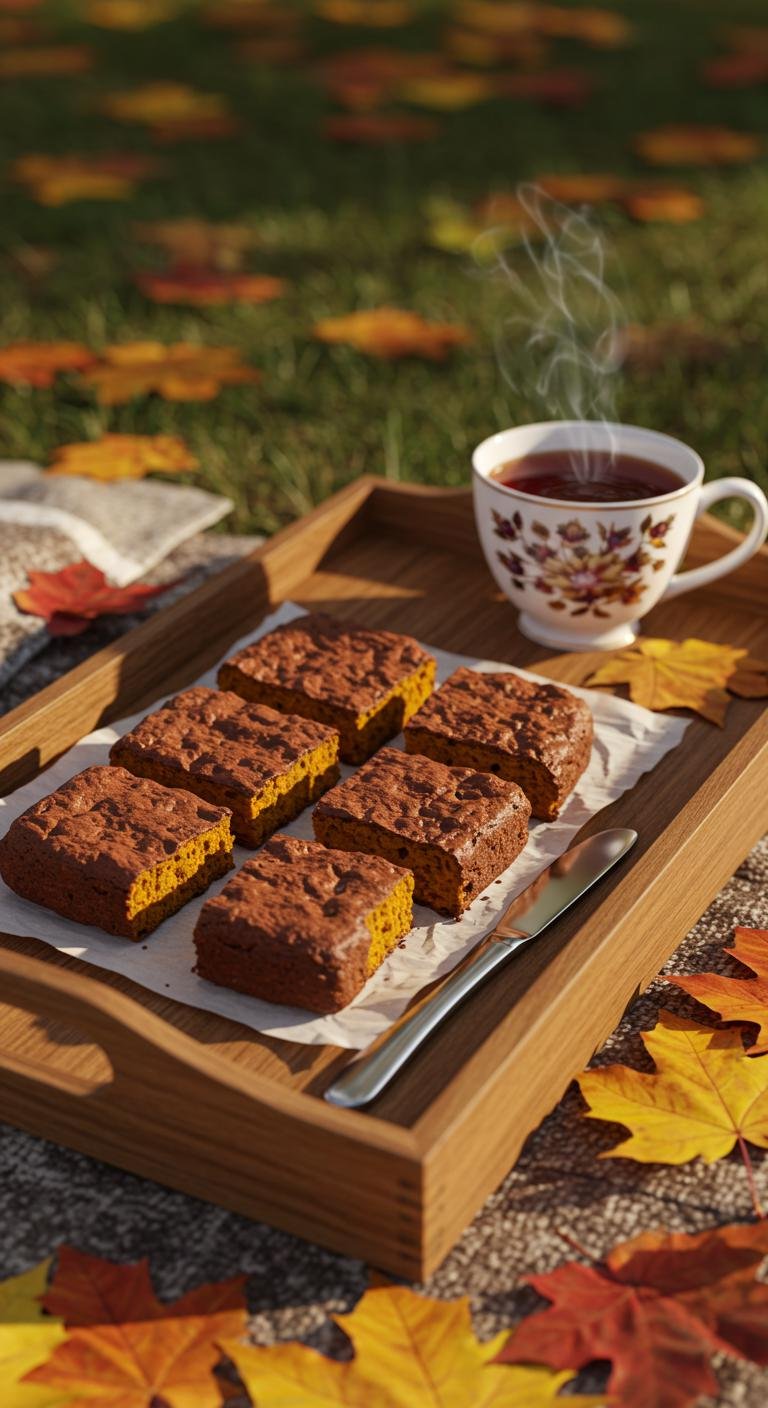
There you have it—your step-by-step guide to creating irresistible gluten-free pumpkin brownies that capture the essence of fall in every bite. Perfect for cozy evenings, coffee dates, or sharing with friends who appreciate seasonal, allergen-friendly treats.
Save this guide for later because once you try these brownies, they’re sure to become your new fall classic! Happy baking!
Recent Posts
13 Hearty Sweet Potato and Black Bean Soup Recipes For a Nutritious Winter Dinner
! There’s something about food that feels like home. Today, we’re going to dive into a recipe that’s simple yet packed with the kind of comfort that feels like a warm hug on a cold day....
10 Quick and Healthy Salmon Salad Recipes For a Light Winter Meal
Intro Hey there, let’s get cooking! Salmon salads are a delightful way to savor the season’s flavors while keeping things light and nutritious. Today, I’m sharing 10 quick and healthy salmon...